

In some of my past articles, I’ve talked at length about the Build-to-Rent Subdivision concept and the advantages to investors and builders alike. Like a lot of concepts, though, it’s easy to talk in broad strokes and leave out some important minutia that can make or break a deal.
Recently, several would-be investors have asked, “Bruce, tell me everything that goes into a Build-to-Rent deal and tell me where some of the pitfalls lie.”
With that in mind, I’ve compiled a list of key steps and that every Build-to-Rent subdivision deal must go through to be successful. Each of these phases is as critical as the next, with some taking place simultaneously and others taking significant up- front capital and risk.
Step 1: Find the Right Land, Sign Letter-of-Intent, Contract
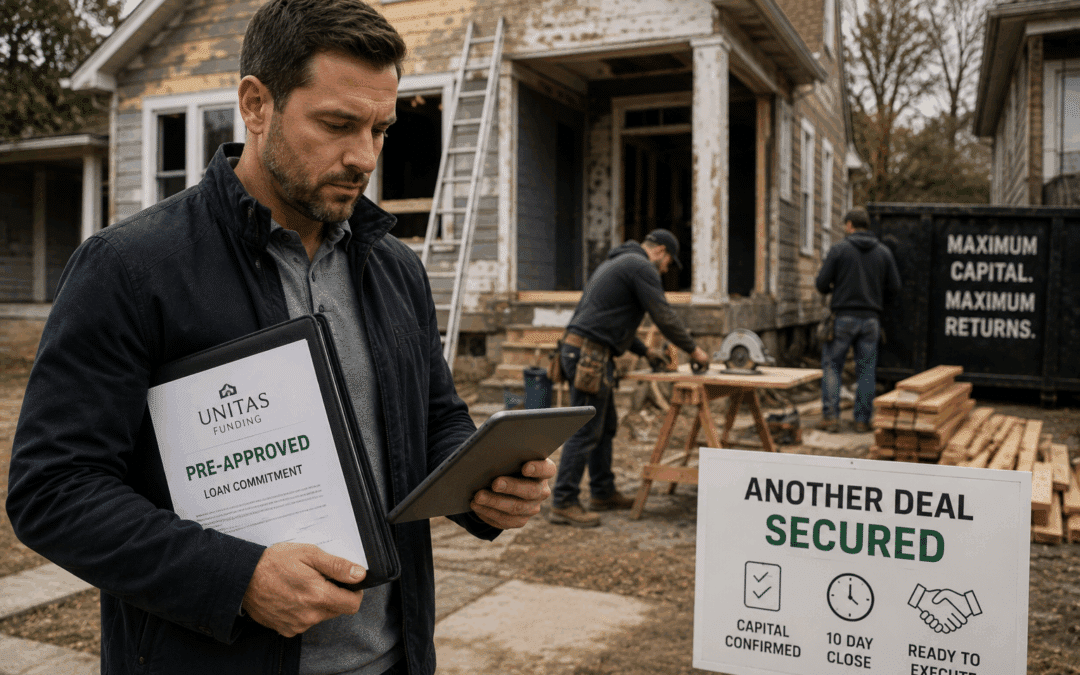
An obvious first step is to find the right property. You can’t build a house in thin air. When you find a piece of land suitable for a single-family home subdivision, it’s important to get a Letter-of-Intent signed as soon as possible. The LOI will allow you to make an offer and enter into an agreement contingent upon the property meeting several specific criteria. It will allow you to hold the property while you do the due diligence to make sure the property is suitable for your needs.
After conducting due diligence, you can sign a final contract.
Step 2: Due Diligence
Once you have the LOI signed, you have bought yourself some time to do your due diligence and determine if you can do what you need with the piece of property. Is the property built on a flood zone, which will require additional and likely expensive insurance? Can the land be rezoned for residential use? Is the property on rock, which will require expensive removal? Are there environmental issues that will need remediation?
Due diligence allows you to look under the hood, so to speak, and determine how much additional work it might take to make the land build-ready. It will help determine additional costs or perhaps even allow you to walk away from property that has too many hidden challenges.
Step 3: Rezoning and Engineering Study
These next steps often happen simultaneously, but also provide one of the greatest risks in the entire process. No matter where you decide to build, at some point you will need to work with a local government body to get the needed permission to proceed. If zoning is not approved for residential building, you will need to go through the entitlement process. While this process could vary from one town to the next, there are several factors likely to be consistent everywhere.
First, you will likely need to hire a civil engineer to do a survey, and possibly also hire a land-use attorney to get it through the city planning commission.
Once the planning commission has given a thumbs up, the rezoning request goes to the city council. Approval usually takes two or three readings, then a round of public comment before it is put on the agenda for a final vote. This process can take anywhere from three to six months, depending on the municipality.
This is often one of the most risky stages of the entire process. The civil engineering can run between $1,000 and $1,500 per house. If you are building a large subdivision, this phase can cost between $100,000 to $200,000 – with no guarantee that the municipality will approve your zoning request.
Also in this phase, it’s likely that the municipality will want to see that you are all in for the betterment of the community. They will likely want to make some improvements to the community that are challenging to fund, such as a new park, walking paths, or other amenities to make the neighborhood more attractive. Final approval will often come with the caveat that you provide funding for these types of projects. In the end, it will make the neighborhood more attractive to potential renters, but could boost your pre-construction costs significantly.
Step 4: Clearing and Grading
Once the zoning challenges are behind you, it’s time to get down to the business of developing the subdivision. Clearing should launch as soon as the necessary permits have been obtained from the city. Any time wasted getting started on this step is time you won’t be collecting rent on the back end.
Step 5: Installing Underground Utilities
The next step is to install utilities such as gas, electric, water, sewer and storm retention ponds. These utilities form the backbone of the entire project. Missteps at this stage can have dire consequences in the long run. Think about selling a house with a leaky basement or roof. It immediately knocks value out of the home. If the utility infrastructure is poor quality, it will impact the value of the entire neighborhood, whether renting individual homes or flipping the entire neighborhood to another investor. Caution at this stage will pay dividends down the road.
Step 6: Final Grade, Curb and Paving
Once you finish the utilities and bury the infrastructure underground, the next step is the final grade. This is where you go from dirt to paved roads, with curbs and properly graded lots ready for construction.
Step 7: Pouring the Slab
This is another step with long-term ramifications if mistakes are made now. A poor foundation can cause long-term structural damage that will ultimately erode a home’s value over time. This isn’t the type of thing an average homeowner will notice, and in the short-term, a poor foundation won’t make a difference. But, as soon as you go to sell, a home inspector will spot good from bad with ease. Much like the neighborhood infrastructure, a solid foundation will pay off in the long run.
Step 8: Framing the house
Next, it’s time to bring in a crew to frame the house. The biggest challenge with framing today is a tight labor supply. Builders are often competing for labor, and talented framers are in demand. Having a go-to crew can ensure a high-quality job at a reasonable price. As with anything in business, relationships matter and keeping your framing crew happy will pay off with reasonable rates in the short run and a quality job over the long haul.
Step 9: Putting on the roof
This is another step that has long-term implications. If your goal is to hold on to these properties for a long time, the last thing you want is to have to replace the roof prematurely. And, even in a quick flip situation, a home inspector will call out a poorly constructed roof when you try to sell. Much like pouring the slab, there is little reason to cut corners here.
Step 10: Windows
From an aesthetic standpoint, good-looking windows can significantly impact curb appeal. Their functionality is equally important. Poorly installed windows that leak or let in too much cold air can cause long-term damage or short-term expensive heating bills.
Step 11: Electrical and Plumbing
Now that the exterior of the home is taking shape, it’s time to install the electrical and the plumbing. These steps seem relatively straightforward, but often cause the biggest headaches at final inspection. A crossed wire or incorrectly installed water line can cause significant re-work prior to receiving the certificate of occupancy. Again, this costs both time and money.
Step 12: Insulation
This is another critical step that buyers often overlook and where many builders might take a short cut. Don’t do it. Poor insulation will lead to higher heating bills and dissatisfied renters. Ultimately, word will get around that you cut corners in this critical area and it will impact your reputation in this neighborhood and future neighborhoods as well.
Step 13: Drywall
At this point, the construction project is starting to look like a home. Once drywall is installed, it’s easier to see what the home ultimately will look like. At this time, most homeowners can start to envision how they will furnish and decorate.
Step 14: Paint
Once the drywall is up, now it’s time to truly bring the home to life by putting some color on the walls. Most real estate experts will tell you to go with neutral colors in the initial stages. However, we’ve found that certain regions and customers often have preferences outside the traditional neutral colors. Knowing regional tastes for décor can help guide you to some unique color choices that can help differentiate your properties from others.
Step 15: Cabinets, Flooring and Fixtures
Here’s where the home’s personality starts to really kick in. In most of our rental homes, even at an entry-level price, we try to add some amenities in the kitchen that help to make the home special. We have found that granite countertops, while a little more expensive, are a key differentiator for buyers and renters alike.
Step 16: Final Inspection
Once the build is complete, the city will want to do a final inspection to make sure everything is up to code. Anything that goes wrong at this stage will slow the process and ultimately cost you money. Some mistakes are simple fixes, such as electrical not hooked up properly or plumbing with hot water hooked to the wrong outlet. But, even these simple steps, which can be rectified relatively quickly, still slow the process and cost you money in the end.
They also can give you a reputation among inspectors as a sloppy builder. The more issues you have in your initial projects, the more likely it is that you will be scrutinized closely in the future.
Once you have passed the final inspection, you will receive the certificate of occupancy. Now you are halfway home. Now you can start marketing and leasing your properties.
But that’s a whole new set of challenges that we will tackle in a future article.


0 Comments